[Nginx] 이미지 캐시 서버 구성해보기
Nginx는 프록시 도구치고는 특이하게 별 특이한 기능들이 잡다하게 들어가있는데, 그 중 하나가 파일 캐시 기능이다. 자체적으로 웹 이미지를 조회하고 로컬-디스크에 저장해서 캐시하는 것이 가능하다.
내 경우에는 외부 이미지를 내부망에 적당히 디스크 수준으로 캐시해놓고 레이턴시를 줄여야 하는 케이스가 있어서 고려를 해보게 됐다.
캐시 디렉토리 세팅
먼저 이미지를 로컬에 저장할 경로를 설정해줘야 한다.
  sudo mkdir -p /var/cache/nginx/images
  sudo chown -R http:http /var/cache/nginx/images
  sudo chmod -R 755 /var/cache/nginx/images
적당히 만들어준다. 여기에 이제 캐시될 파일이 들어갈 것이다.
nginx 설정파일 구성
nginx config를 다음과 같이 수정해준다.
sudo vim /etc/nginx/nginx.confworker_processes 1;
error_log /var/log/nginx/error.log info;
events {
worker_connections 1024;
}
<br>
http {
include mime.types;
default_type application/octet-stream;
# DNS resolver 설정 (IPv4만 사용)
resolver 8.8.8.8 8.8.4.4 valid=300s ipv6=off;
resolver_timeout 10s;
log_format main '$remote_addr - $remote_user [$time_local] "$request" '
'$status $body_bytes_sent "$http_referer" '
'"$http_user_agent" "$http_x_forwarded_for" '
'Cache: $upstream_cache_status';
access_log /var/log/nginx/access.log main;
sendfile on;
keepalive_timeout 65;
types_hash_max_size 4096;
# 캐시 경로 설정
# 캐시 디렉토리, 레벨, 키 존, 최대 크기 설정
proxy_cache_path /var/cache/nginx/images
levels=1:2
keys_zone=image_cache:10m
max_size=1g
use_temp_path=off;
<br>
server {
listen 80;
server_name localhost;
# 이미지 캐싱 로케이션 (프로토콜 명시)
# 사용법: /proxy/https/public.myyrakle.com/bonobono.jpg
# /proxy/http/example.com/image.jpg
location ~ ^/proxy/(?<proto>https?)/(?<upstream_host>.+?)(?<upstream_path>/.*)?$ {
# 캐시 설정
proxy_cache image_cache;
proxy_cache_valid 200 365d; # 1년동안 유지되는 캐시
proxy_cache_valid 404 1h;
proxy_cache_key "$proto://$upstream_host$upstream_path";
proxy_cache_use_stale error timeout updating http_500 http_502 http_503 http_504;
# 캐시 상태 헤더 추가
add_header X-Cache-Status $upstream_cache_status always;
# 원본 URL 구성 및 프록시
set $original_url "$proto://$upstream_host$upstream_path";
proxy_pass $original_url;
proxy_ssl_verify off;
proxy_ssl_session_reuse on;
proxy_ssl_server_name on;
proxy_ssl_trusted_certificate /etc/ssl/certs/ca-certificates.crt;
proxy_redirect off;
# 프록시 헤더 설정
proxy_set_header X-Real-IP $remote_addr;
proxy_set_header X-Forwarded-For $proxy_add_x_forwarded_for;
proxy_set_header X-Forwarded-Proto $scheme;
proxy_set_header Host $upstream_host;
# 타임아웃 설정
proxy_connect_timeout 30s;
proxy_send_timeout 30s;
proxy_read_timeout 30s;
# 버퍼링 설정
proxy_buffering on;
proxy_buffer_size 4k;
proxy_buffers 8 4k;
proxy_busy_buffers_size 8k;
}
# 이미지 캐싱 로케이션 (프로토콜 자동 https)
# 사용법: /proxy/public.myyrakle.com/bonobono.jpg
location ~ ^/proxy/(?<upstream_host>.+?)(?<upstream_path>/.*)?$ {
# 캐시 설정
proxy_cache image_cache;
proxy_cache_valid 200 365d;
proxy_cache_valid 404 1h;
proxy_cache_key "https://$upstream_host$upstream_path";
proxy_cache_use_stale error timeout updating http_500 http_502 http_503 http_504;
# 캐시 상태 헤더 추가
add_header X-Cache-Status $upstream_cache_status always;
# HTTPS로 자동 설정하여 프록시
set $original_url "https://$upstream_host$upstream_path";
proxy_pass $original_url;
proxy_ssl_verify off;
proxy_ssl_session_reuse on;
proxy_ssl_server_name on;
proxy_ssl_trusted_certificate /etc/ssl/certs/ca-certificates.crt;
proxy_redirect off;
# 프록시 헤더 설정
proxy_set_header X-Real-IP $remote_addr;
proxy_set_header X-Forwarded-For $proxy_add_x_forwarded_for;
proxy_set_header X-Forwarded-Proto $scheme;
proxy_set_header Host $upstream_host;
# 타임아웃 설정
proxy_connect_timeout 30s;
proxy_send_timeout 30s;
proxy_read_timeout 30s;
# 버퍼링 설정
proxy_buffering on;
proxy_buffer_size 4k;
proxy_buffers 8 4k;
proxy_busy_buffers_size 8k;
}
# 캐시 상태 확인 로케이션
location /cache/stats {
access_log off;
add_header Content-Type text/plain;
return 200 "Image Cache Server is running\nCache directory: /var/cache/nginx/images\nMax size: 1GB\nInactive: 60 days\n";
}
# 기본 로케이션
location / {
root /usr/share/nginx/html;
index index.html index.htm;
}
error_page 500 502 503 504 /50x.html;
location = /50x.html {
root /usr/share/nginx/html;
}
}
}주요한 설정 지점은 2군데다.
이건 캐시 경로 설정인데
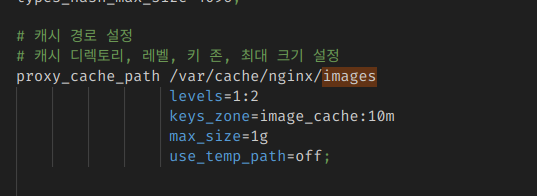 여기서 추가로 건드릴만한 부분은 max_size다.
이게 디스크에 저장하는 최대 크기고, 이걸 넘어서면 오래된 것부터 삭제한다. 디스크가 넉넉하다면 거기 맞춰서 크게 잡으면 된다.
그리고 URI 핸들링 부분은 조금 번잡하다.
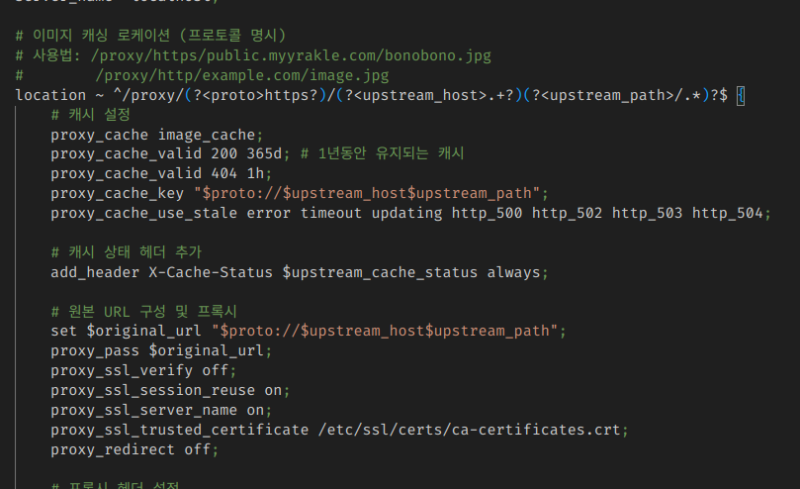 프로토콜, 도메인, URI 경로를 순서대로 슬래시 단위로 받도록 했다.
그러니까, 이런 식으로 사용할 수 있는 것이다.
curl http://localhost/proxy/프로토콜/원본도메인/경로저렇게 수정한 채로 nginx를 reload하면 된다.
sudo systemctl restart nginx사용해보기
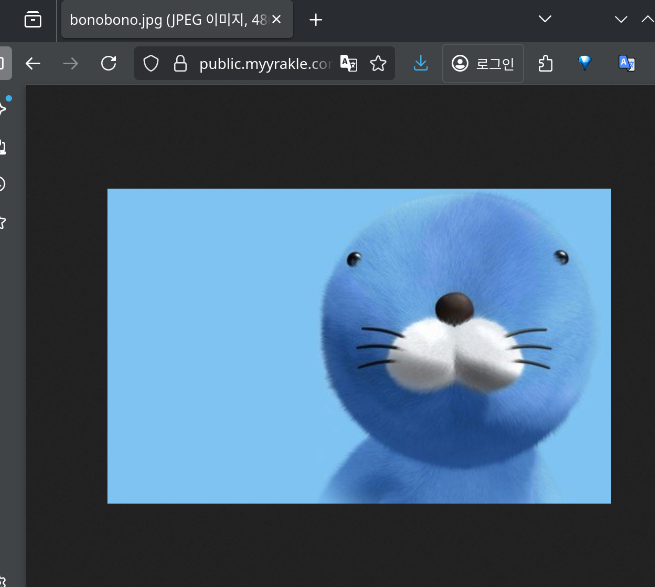
nginx 서버가 오류 없이 잘 떴다면 이제 바로 사용해볼 수 있다.
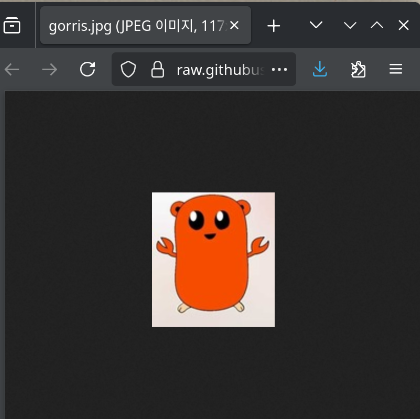
이렇게 외부 remote 이미지가 있다면
이렇게 접근할 수 있다.
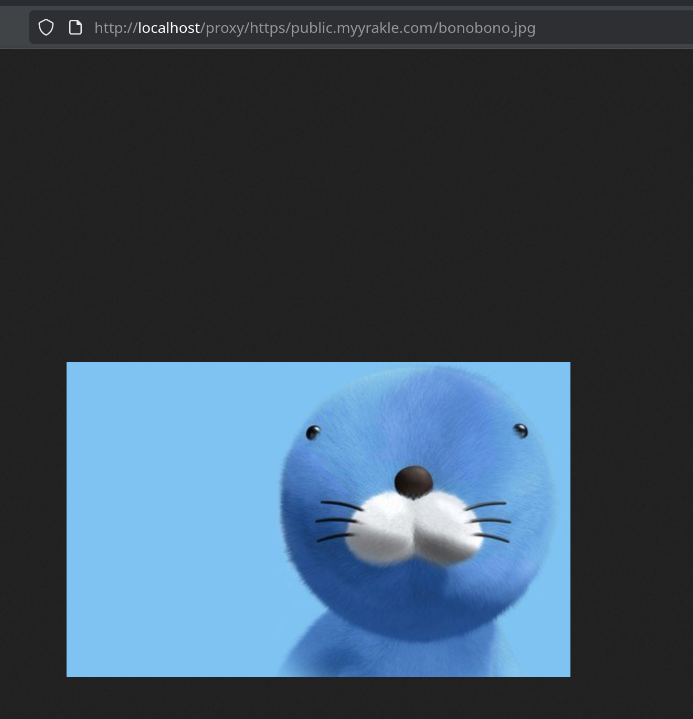
그리고 아까 만들었던 디렉토리에 파일이 쌓일 것이다.

새 이미지를 조회하면 조회하는대로 또 계속 파일을 생성한다.
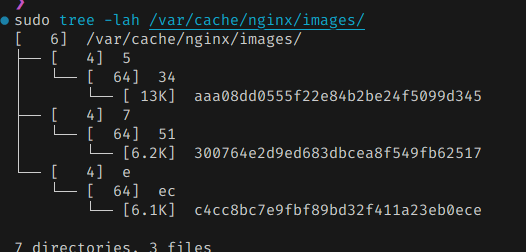
단일 컴퓨팅 환경으로 감당 가능한 경우에는 충분히 쓸만한 것 같다.